Photo Upload Tutorial
Dec 17, 2008 18:20:20 GMT -1
Post by JIMBOB on Dec 17, 2008 18:20:20 GMT -1
Just to add to Seajunkies thread about uploading your photos to the forum. It seams people are still having trouble getting it right so I have put together this tutorial with screen shots to try and help those who are struggling.
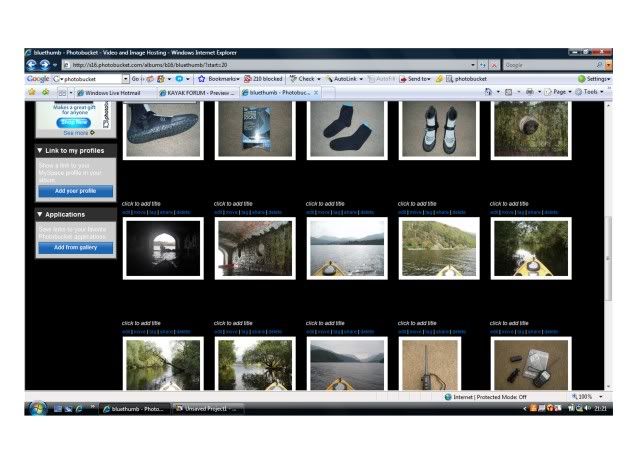
Your Photobucket album and upload screen should look something similar to this:
When you move your mouse over any of the photos, a drop down text box should appear like this:
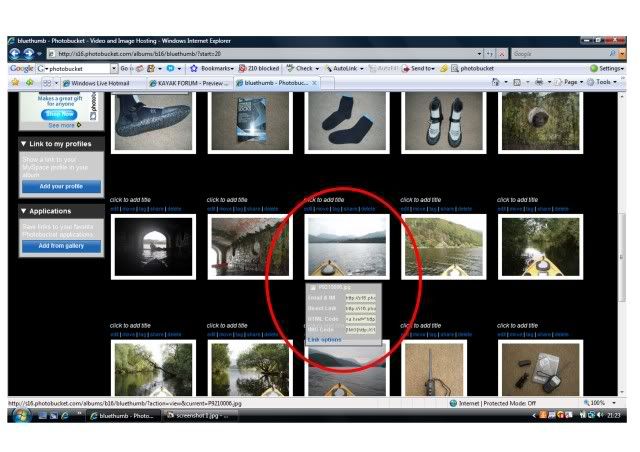
Once this text box appears simply move your mouse down to the fourth option and click once .
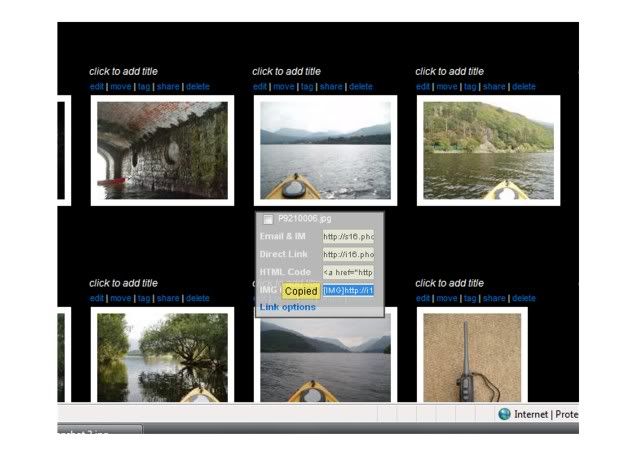
This will have automatically copied the image code ready for pasting into your forum post.
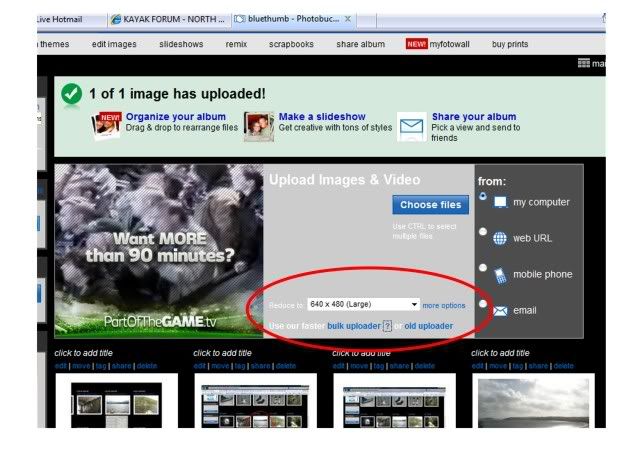
Photobucket should have the size of the photos set by default at 640 x 480 pixels (the same size as the ones in this thread). The next screen shot shows where you can adjust the size of your photos if you need to.
You will have to repeat the process for each photo you wish to use in your forum post and paste it seperately. It is far easier to have Photobucket and the forum both open in seperate windows for doing this as it will save time closing down one to open the other.
In order to preserve the dimensions of the forum's screen you must press enter or return on your key board after each image code, like this:
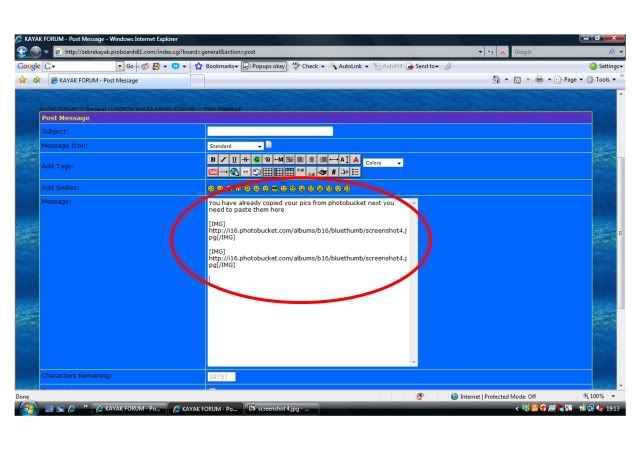
In the example above I have pasted two photos, you will notice that I have pressed return after each one I've pasted. This will show the photos underneath each other neatly with a gap between each one. If you don't press return then we end up with a long line of photos going across the screen which is awkward and hard to view.
I hope this helps.
Your Photobucket album and upload screen should look something similar to this:
When you move your mouse over any of the photos, a drop down text box should appear like this:
Once this text box appears simply move your mouse down to the fourth option and click once .
This will have automatically copied the image code ready for pasting into your forum post.
Photobucket should have the size of the photos set by default at 640 x 480 pixels (the same size as the ones in this thread). The next screen shot shows where you can adjust the size of your photos if you need to.
You will have to repeat the process for each photo you wish to use in your forum post and paste it seperately. It is far easier to have Photobucket and the forum both open in seperate windows for doing this as it will save time closing down one to open the other.
In order to preserve the dimensions of the forum's screen you must press enter or return on your key board after each image code, like this:
In the example above I have pasted two photos, you will notice that I have pressed return after each one I've pasted. This will show the photos underneath each other neatly with a gap between each one. If you don't press return then we end up with a long line of photos going across the screen which is awkward and hard to view.
I hope this helps.


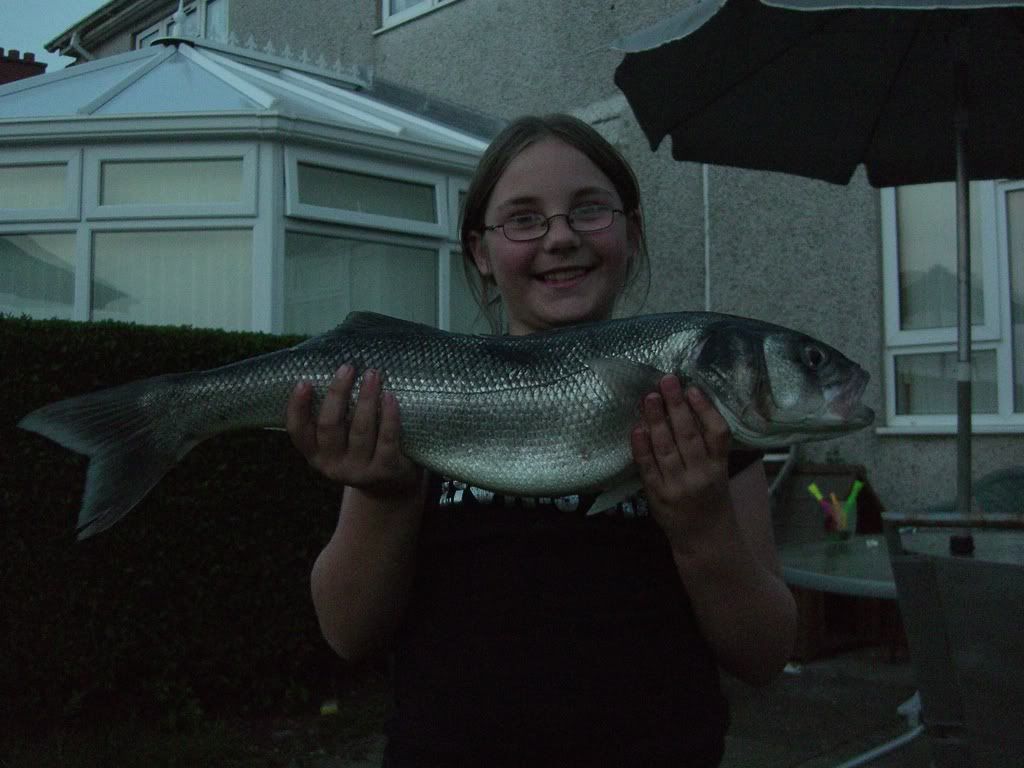 this is my baby holding her bass i did help her a little