Prawn fly
May 28, 2011 14:32:36 GMT -1
Post by shaun1118 on May 28, 2011 14:32:36 GMT -1
As promised, heres my 'how I tie my prawn fly'. Its a rushed effort cos im short on time but still turned out good.
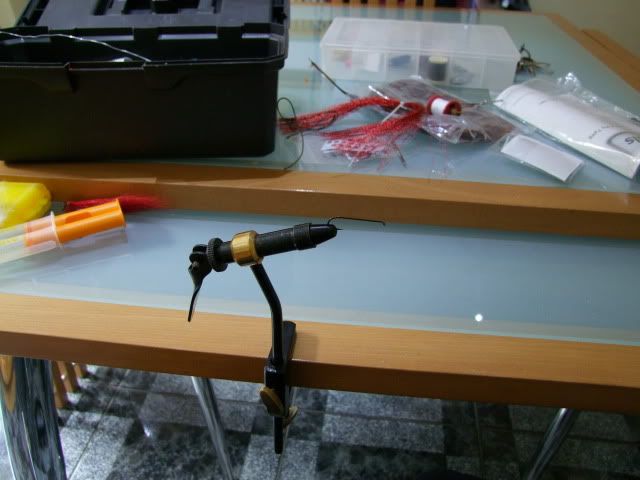
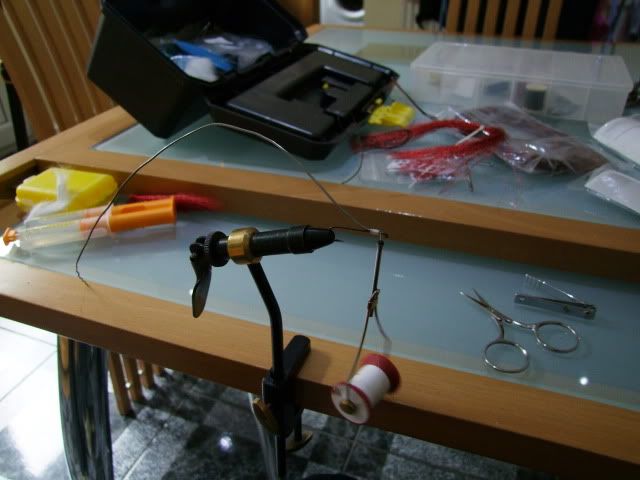
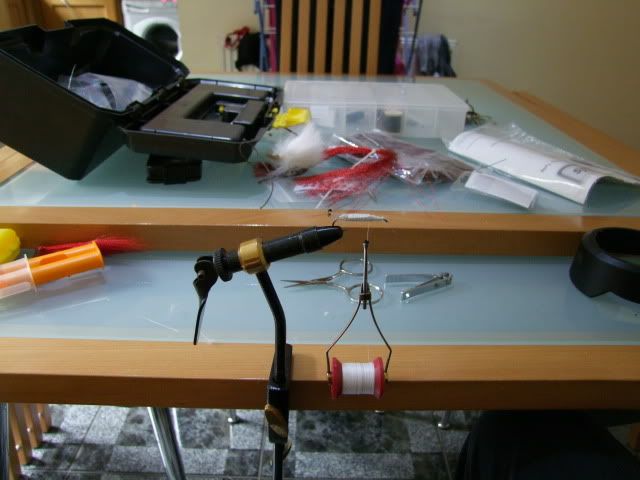
1st site your vice somewhere with good lighting, free from draughts and free from annoyance...and erm no dogs trying to eat your bucktail. If your going to be there tying quite a few flies it makes sense your in comfort aswel.
Materials I used;
Long shank hook
White thread
Lead wire
White fox tail
White Buck tail
Pearlescent flashabou
40lb amnesia
Epoxy resin
Now put your hook in the vice, a long shank hook works best in my opinion but theres no harm in trying different things. In this demo im using a size 6 trout hook which is too flimsy to use in the sea but its only for this demo as all my other hooks are in Northern Ireland ATM. But i normally tie onto long shank carp hooks in size 2 and 4.
Now start your thread onto the hook and tie on a length of lead wire. Theres two things i use for the lead wire, the electrical soldering wire you can buy from internet or hardware store or the core from lead core avaible again off the web or in tackle shops. Which one i use depends on how heavy i want the fly. Flattening the end your going to tie to the hook makes it easier aswel.
Now start working the lead wire around the shank of the hook and when you get to around where the hook point is adjacent, stop and trim the wire.
Then i cut off a small pinch of fox tail, remove all the small softer hairs by pinching the bunch in the middle and gently pulling at the cut end, I then tie these in to build up the body and cover the wire. Save the longer hairs as you will need them soon.
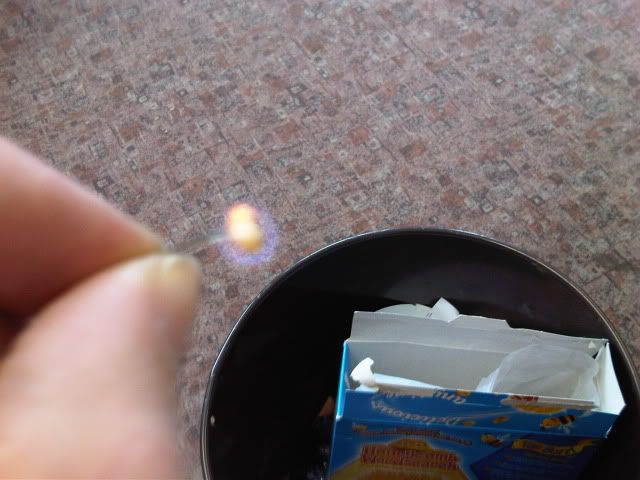
Now you need to make the eyes, this is done by burning the end of a piece of heavy mono, i find 40lb amnesia perfect for the job. Set fire to one end and GENTLY blow it out once the blob is black and big enough to pass off as a eye. Please take care and hold it over something that wont burn or be damaged should a dripsy occur and try not to burn yourself And whip into position
Now using the longer stiffer fox hair from before tie it onto the bottom side of the fly near the eye, then tie 3 or 4 stands of flashabou and about 10-15 strands of bucktail on the top of the fly, this will make the manible bit. This all needs to be held in place at the tail end, then you need to make a few very light turns up and then back down the hook, probably no more than 8 there and back.
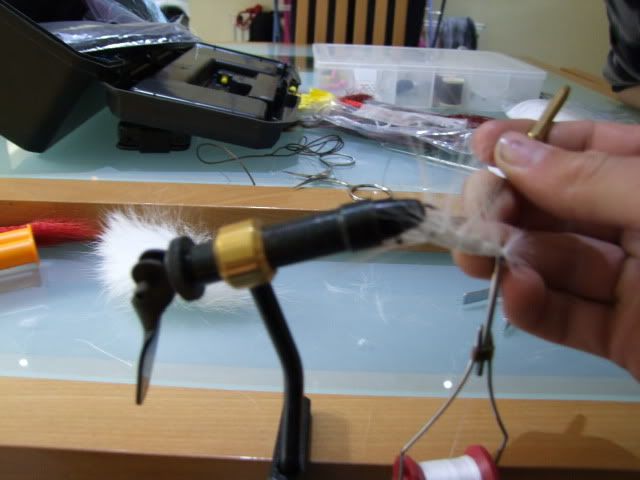
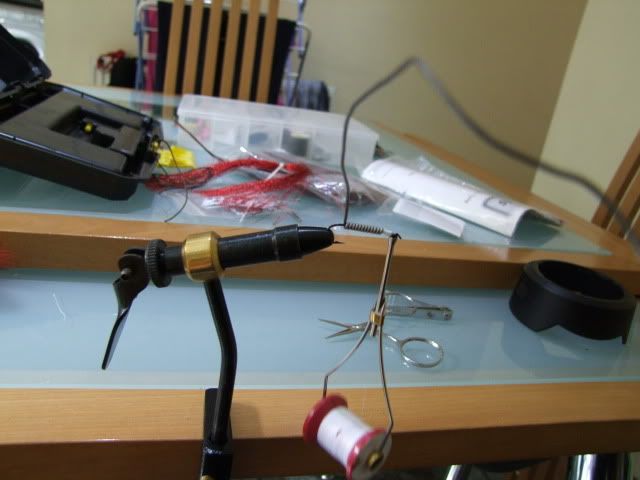
Now you need to spin the fly around and start gently picking and the fox fur using a needle as shown in this picture, this makes the leg like bits. Start at the head end and work back, take time doing this cos its really easy to mess it up here. If you do it wrong though, acknowledge it, undo your loose wrapping and start it again or you will ruin the whole fly.
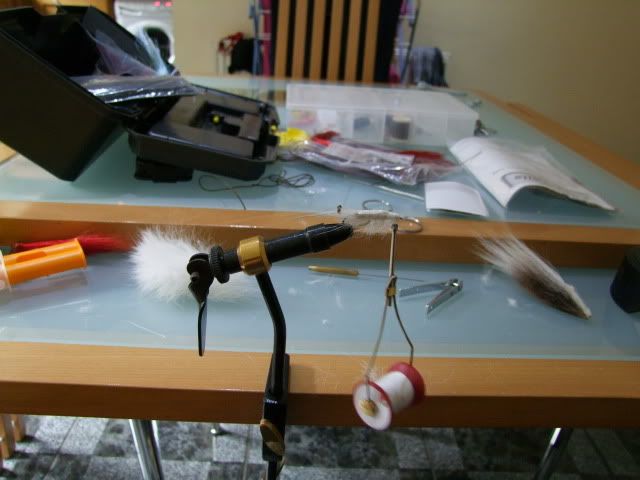
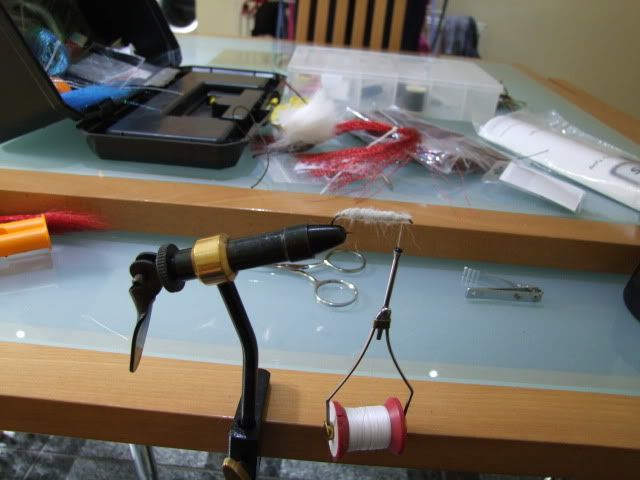
Spin the fly back around, and trim the leg like bits and scuff it up a bit, now shape the mandible bit, i normally use loctite to stiffen the hairs on the mandible and to hold it all as one. The fly can tied off and fished like this but i like to make a nice carapace using flashabou and epoxy.
To make the carapace, tie about 10 strands of flashabou near the eye of the hook, I leave about 8mm hanging over the eye to make a tail and fan this out once the epoxy has dried. Now tie the fly off, i use a few hitch knots as the whip finishing tool isnt much use here as the tail over hangs. Now you need to mix up your epoxy (feel free to add some fine glitter or even some glow in the dark powder), now lift back the flashabou and apply a light layer of epoxy between the flashabou and the prawns eyes now push the flashabou into this then apply another coat over the flashabou and smooth it over. Leave it to harden for a minute or two and it becomes quite plyable, use this window to tidy up the epoxy with your fingers.
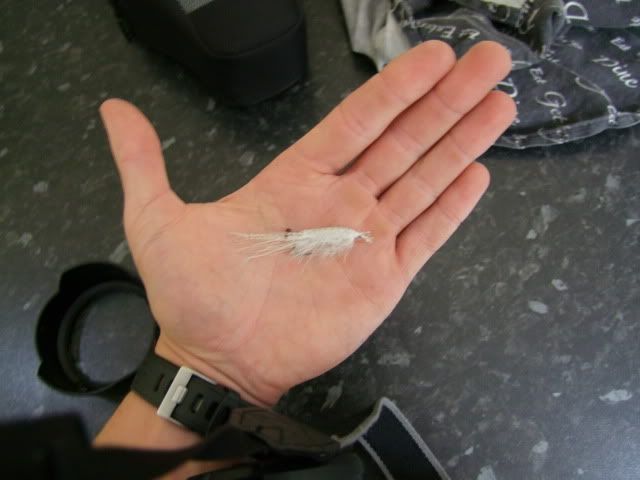
And now the fly is complete.

Small note; keeping your work area tidy (poorly demonstrated in these pics but i was only tying one fly so ) and only having the materials your using out helps keep things going smoothly as your not searching for bits and getting frustrated cos you keep loosing your scissors.
If anyone has any questions or wants me to into any more depth about this fly feel free to ask. And if you have a go at tying this, please post your pics and let me know how you got on.
Thanks
Shaun Milner
1st site your vice somewhere with good lighting, free from draughts and free from annoyance...and erm no dogs trying to eat your bucktail. If your going to be there tying quite a few flies it makes sense your in comfort aswel.
Materials I used;
Long shank hook
White thread
Lead wire
White fox tail
White Buck tail
Pearlescent flashabou
40lb amnesia
Epoxy resin
Now put your hook in the vice, a long shank hook works best in my opinion but theres no harm in trying different things. In this demo im using a size 6 trout hook which is too flimsy to use in the sea but its only for this demo as all my other hooks are in Northern Ireland ATM. But i normally tie onto long shank carp hooks in size 2 and 4.
Now start your thread onto the hook and tie on a length of lead wire. Theres two things i use for the lead wire, the electrical soldering wire you can buy from internet or hardware store or the core from lead core avaible again off the web or in tackle shops. Which one i use depends on how heavy i want the fly. Flattening the end your going to tie to the hook makes it easier aswel.
Now start working the lead wire around the shank of the hook and when you get to around where the hook point is adjacent, stop and trim the wire.
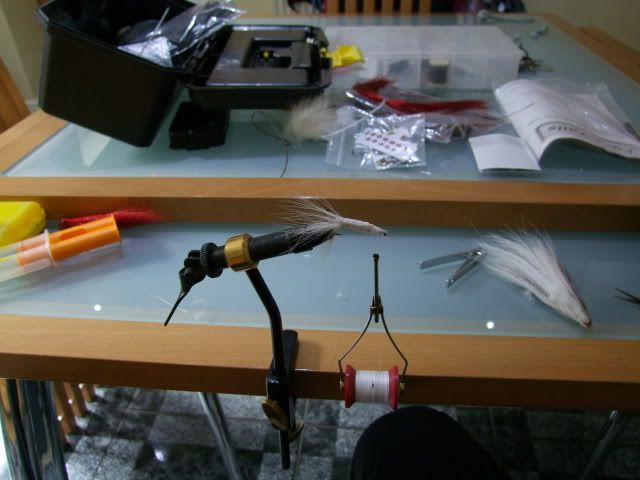
Then i cut off a small pinch of fox tail, remove all the small softer hairs by pinching the bunch in the middle and gently pulling at the cut end, I then tie these in to build up the body and cover the wire. Save the longer hairs as you will need them soon.
Now you need to make the eyes, this is done by burning the end of a piece of heavy mono, i find 40lb amnesia perfect for the job. Set fire to one end and GENTLY blow it out once the blob is black and big enough to pass off as a eye. Please take care and hold it over something that wont burn or be damaged should a dripsy occur and try not to burn yourself
 And whip into position
Now using the longer stiffer fox hair from before tie it onto the bottom side of the fly near the eye, then tie 3 or 4 stands of flashabou and about 10-15 strands of bucktail on the top of the fly, this will make the manible bit. This all needs to be held in place at the tail end, then you need to make a few very light turns up and then back down the hook, probably no more than 8 there and back.
Now you need to spin the fly around and start gently picking and the fox fur using a needle as shown in this picture, this makes the leg like bits. Start at the head end and work back, take time doing this cos its really easy to mess it up here. If you do it wrong though, acknowledge it, undo your loose wrapping and start it again or you will ruin the whole fly.
Spin the fly back around, and trim the leg like bits and scuff it up a bit, now shape the mandible bit, i normally use loctite to stiffen the hairs on the mandible and to hold it all as one. The fly can tied off and fished like this but i like to make a nice carapace using flashabou and epoxy.
To make the carapace, tie about 10 strands of flashabou near the eye of the hook, I leave about 8mm hanging over the eye to make a tail and fan this out once the epoxy has dried. Now tie the fly off, i use a few hitch knots as the whip finishing tool isnt much use here as the tail over hangs. Now you need to mix up your epoxy (feel free to add some fine glitter or even some glow in the dark powder), now lift back the flashabou and apply a light layer of epoxy between the flashabou and the prawns eyes now push the flashabou into this then apply another coat over the flashabou and smooth it over. Leave it to harden for a minute or two and it becomes quite plyable, use this window to tidy up the epoxy with your fingers.
And now the fly is complete.
Small note; keeping your work area tidy (poorly demonstrated in these pics but i was only tying one fly so
 ) and only having the materials your using out helps keep things going smoothly as your not searching for bits and getting frustrated cos you keep loosing your scissors.
 If anyone has any questions or wants me to into any more depth about this fly feel free to ask. And if you have a go at tying this, please post your pics and let me know how you got on.
Thanks
Shaun Milner