
Rigging the manta ray 14
Dec 31, 2008 20:32:08 GMT -1
Post by ZEBRA on Dec 31, 2008 20:32:08 GMT -1
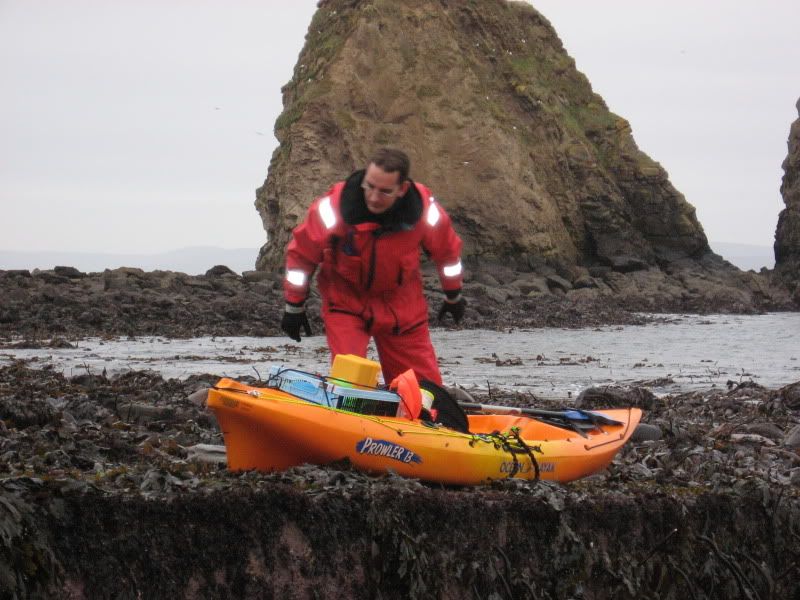
Rigging the manta ray have started rigging the manta ray 14 i will add descriptions and the rest of the photos later tonight but hers a few photos to start with


To start with I got all my rigging kit out ready to start please note the small angled jig saw in the bottom left photo on the bottom right a superb little tool which is available from maplins electronics for about £20.00 this is very handy for getting in to all the angles.
Fitting the rear flush mount rod holders

Firstly using the rubber gasket mark and drill out the holes for the mount


Note the new sealed bottoms on the watertrail rod holders this is much better than the caped version many companies still use no water can leak in through the cap

Once the hole is cut to size a small bead of silicone is run all around the edge of the hole to make a watertight seal

The gasket is laid on top and another silicone bead added to the gasket

The mount is then dropped in to place and secured with 3 small nuts and bolts

I use 3 flush mounts on my kayaks I like to have a feather rod and a bottom rod set up all the time I also have a spinning rod set up I decided to try the new pyrana flush mount for the spinning rod I like this mount because it is not as deep as the other mount and also has a sealed end not to mention it has a smaller mounting plate so can fit in to smaller spaces.

The pyrana mount was fitted the same way the other flush mounts were fitted just behind the left-hand side

You can see here the spacing of the 3 flush mounts

Next was a water trail anchor trolley kit

After marking the position for the front and rear rollers well nuts are used to fix everything.


A small keeper on the side is used when transporting the kayak to keep everything neat


Several pad eyes were then fitted in locations for my paddle leash and dry boxes to clip to


Lastly for this stage of fitting out I fitted a water trail paddle keeper this is a fantastic piece of kit that locks the paddle in place when transporting the kayak down the beach or fishing
To start with I got all my rigging kit out ready to start please note the small angled jig saw in the bottom left photo on the bottom right a superb little tool which is available from maplins electronics for about £20.00 this is very handy for getting in to all the angles.
Fitting the rear flush mount rod holders
Firstly using the rubber gasket mark and drill out the holes for the mount
Note the new sealed bottoms on the watertrail rod holders this is much better than the caped version many companies still use no water can leak in through the cap
Once the hole is cut to size a small bead of silicone is run all around the edge of the hole to make a watertight seal
The gasket is laid on top and another silicone bead added to the gasket
The mount is then dropped in to place and secured with 3 small nuts and bolts
I use 3 flush mounts on my kayaks I like to have a feather rod and a bottom rod set up all the time I also have a spinning rod set up I decided to try the new pyrana flush mount for the spinning rod I like this mount because it is not as deep as the other mount and also has a sealed end not to mention it has a smaller mounting plate so can fit in to smaller spaces.
The pyrana mount was fitted the same way the other flush mounts were fitted just behind the left-hand side
You can see here the spacing of the 3 flush mounts
Next was a water trail anchor trolley kit
After marking the position for the front and rear rollers well nuts are used to fix everything.
A small keeper on the side is used when transporting the kayak to keep everything neat
Several pad eyes were then fitted in locations for my paddle leash and dry boxes to clip to
Lastly for this stage of fitting out I fitted a water trail paddle keeper this is a fantastic piece of kit that locks the paddle in place when transporting the kayak down the beach or fishing


 ;D
;D
